The banner will be the first thing your readers see of your blog, so it's very important indeed. This is what will make your readers want to stay on your blog, read your articles and enjoy your writing.
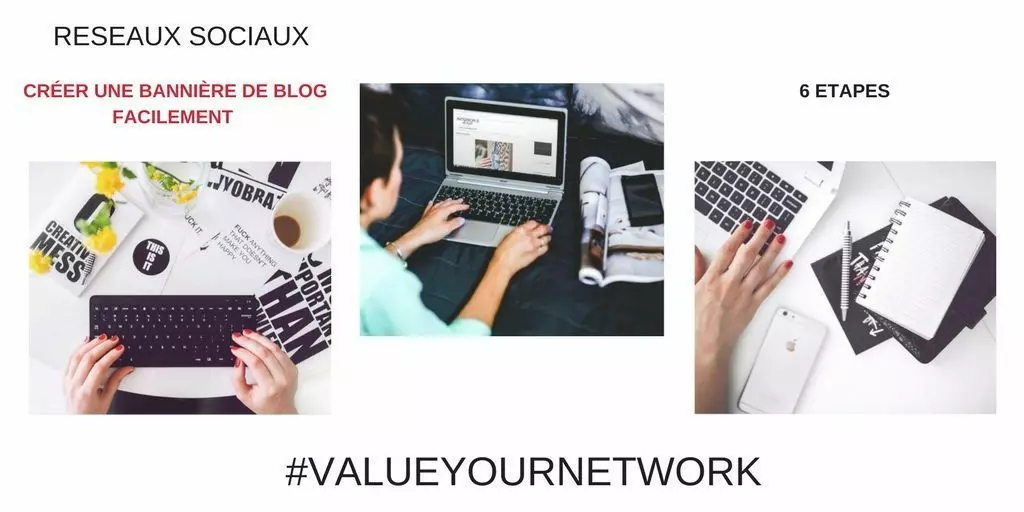
The problem? As a beginner, it's not always easy to improvise as a graphic designer! VYN to therefore has chosen to help you today with a 6-step guide to creating your own banner.
First and foremost, which software should you choose?
The first program that comes to mind will obviously be Photoshop, but that's the best way to scare you away from your banner project.
Indeed, even if it is one of the best software It's absolutely not suitable for beginners!
We recommend :
For PC enthusiasts (Windows)software PhotofilterIt's free and easy to use, and will be more than enough to get you started in the art of blog banners.
For Apple addicts, you can turn to Sketch Book express, a free, comprehensive application.
1. Find the right size
The size of your banner will depend on your theme. For some themes, one size will be recommended, otherwise try it out and see what you like!
Note that your banner should not be too high ( 150px on average), because it could take up a bit too much space when your site opens, which would hide your content and generally people only stay on your site for 10 to 20 seconds before deciding whether to go to further in their reading or if they leave your blog.
2. Prefer a white background (or clear)
The reason is quite simple: light-colored backgrounds are easier to see and give a much cleaner look. Don't forget, if you've never mastered graphics, you need to keep things simple.
3. Choose a font that suits you
That's when your personality comes into play. You'll need to modify the typography (font and size). You can download fonts from a number of sites, but the best-known is Dafont.fr. Here again, the size of your font will play a role in the perception of your banner. Choose neither too small nor too large.
4. Choose the elements you want on your banner
You'll need to personalize your banner. We advise you to include the name of the site, a slogan if you have one, and 2 or 3 graphic elements. (shape, icons, images) to recall the theme of your blog. You can find more icons on Iconfinder.com.
This will be the most creative phase, as you'll have to decide what you want to appear, and choose elements that reflect your personality.
Don't hesitate to do all sorts of tests and ask your friends and family for advice - two heads are better than one!
5. Choose a maximum of 3 shades in addition to black/white
To make sure you get a good-looking banner, you should never mix more than 3 shades in addition to black and white. We advise you to play with the colors of your blog.
Above all, be delicate and don't overdo the "flash in" colors. the night ". It's good to have : black, a "showy" color, and two pastel colors to match the showy color.
6. Move on to assembly
This will be the hardest part, as you'll need to test to make sure that your previous choices were right and that everything blends together perfectly to create the look you wanted for your blog. It's up to you to put your thinking caps on and start creating your own banner, in your own image and with these few tips that I hope will be of benefit to you!
Your turn to play
PS: If this seems too difficult, don't hesitate to call on a graphic designer to create a graphic image for you.
To further increase your chances of standing out from the crowd, don't hesitate to register on our platform. influencer and join our community of influencers! Value Your Network can help you make the connection between you and brands, and increase your brand awareness.
Would you like to work with our partners?
Follow us on our instagram page => https://www.instagram.com/valueyournetwork/
To become an advertiser and launch a campaign with influencers on instagram in Franceplease contact us at the following address: [email protected] to launch your next influencer campaign.